
How do I enable the Salesforce Fusion Recorder in Leapwork?
To enable the Salesforce Fusion Recorder:
-
Navigate to:
C:\Users\YourUsername\AppData\Local\Leapwork
(ReplaceYourUsernamewith your Windows username.) -
Open the studio config file.
-
Look for or add the following line:
"EnableSalesforceFusion": true, -
Save the file and restart Leapwork Studio.
Note: Available from version 2025.2.0 onward.
What should I do if the recorded element strategy doesn’t work in Salesforce?
Sometimes, Leapwork is not able to generate a unique strategy when capturing elements in Salesforce, especially if there are repeated or similar elements on the page. In such cases, you may need to manually adjust the strategy to specify the correct occurrence of the element.
There are two ways to address this:
Option 1: Capture the element again with occurrence
-
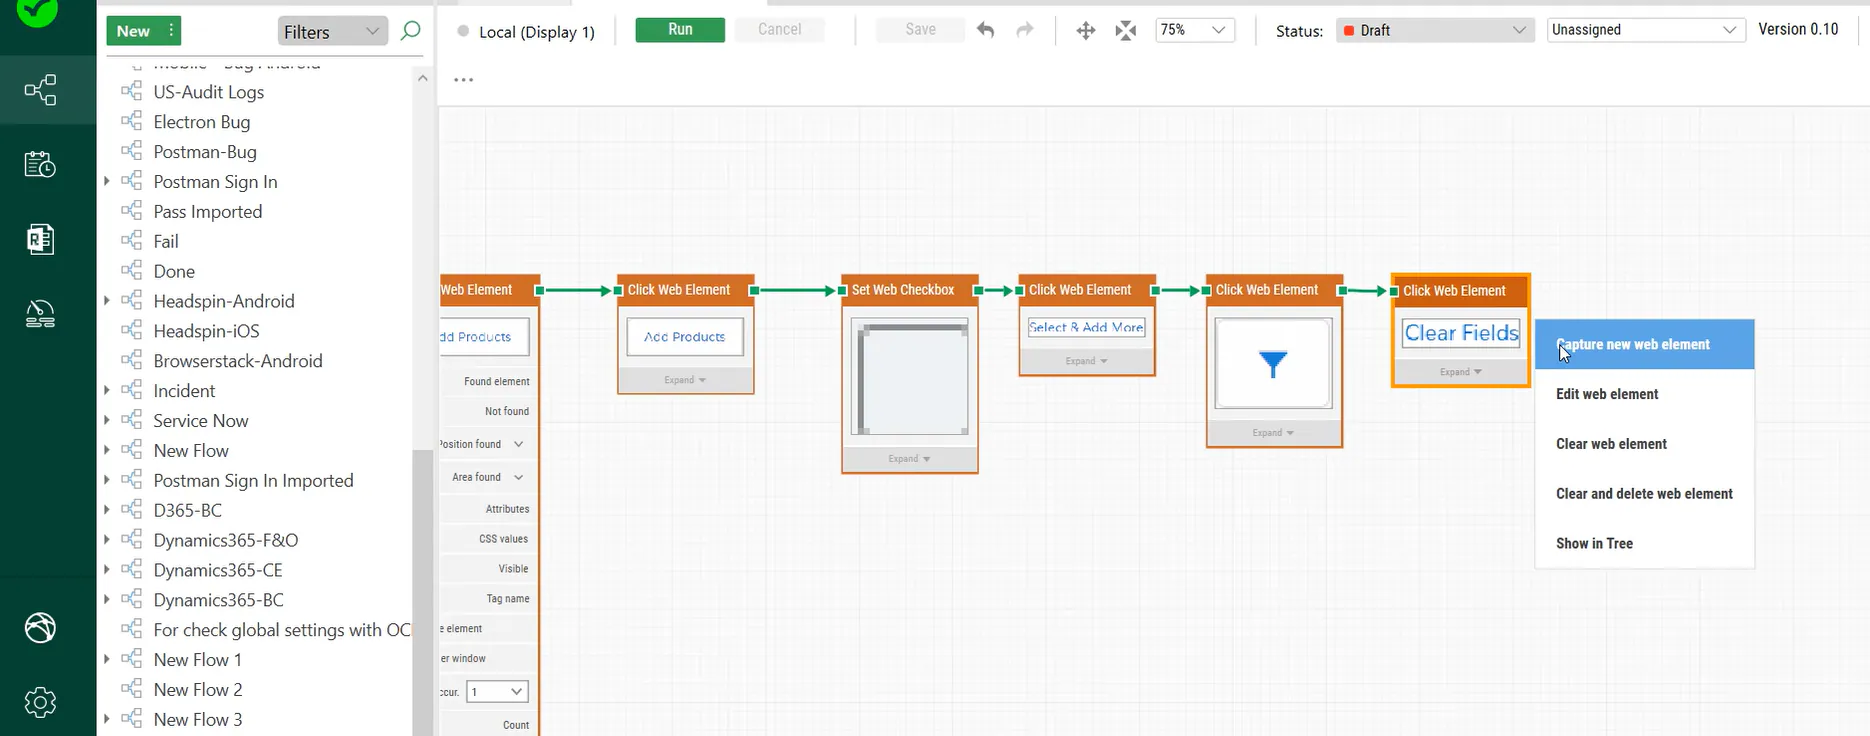
Click the web element (e.g., a field or button) and choose Clear fields.
-
Right-click the same element again and select Capture new web element.
-
Click Edit web element.
-
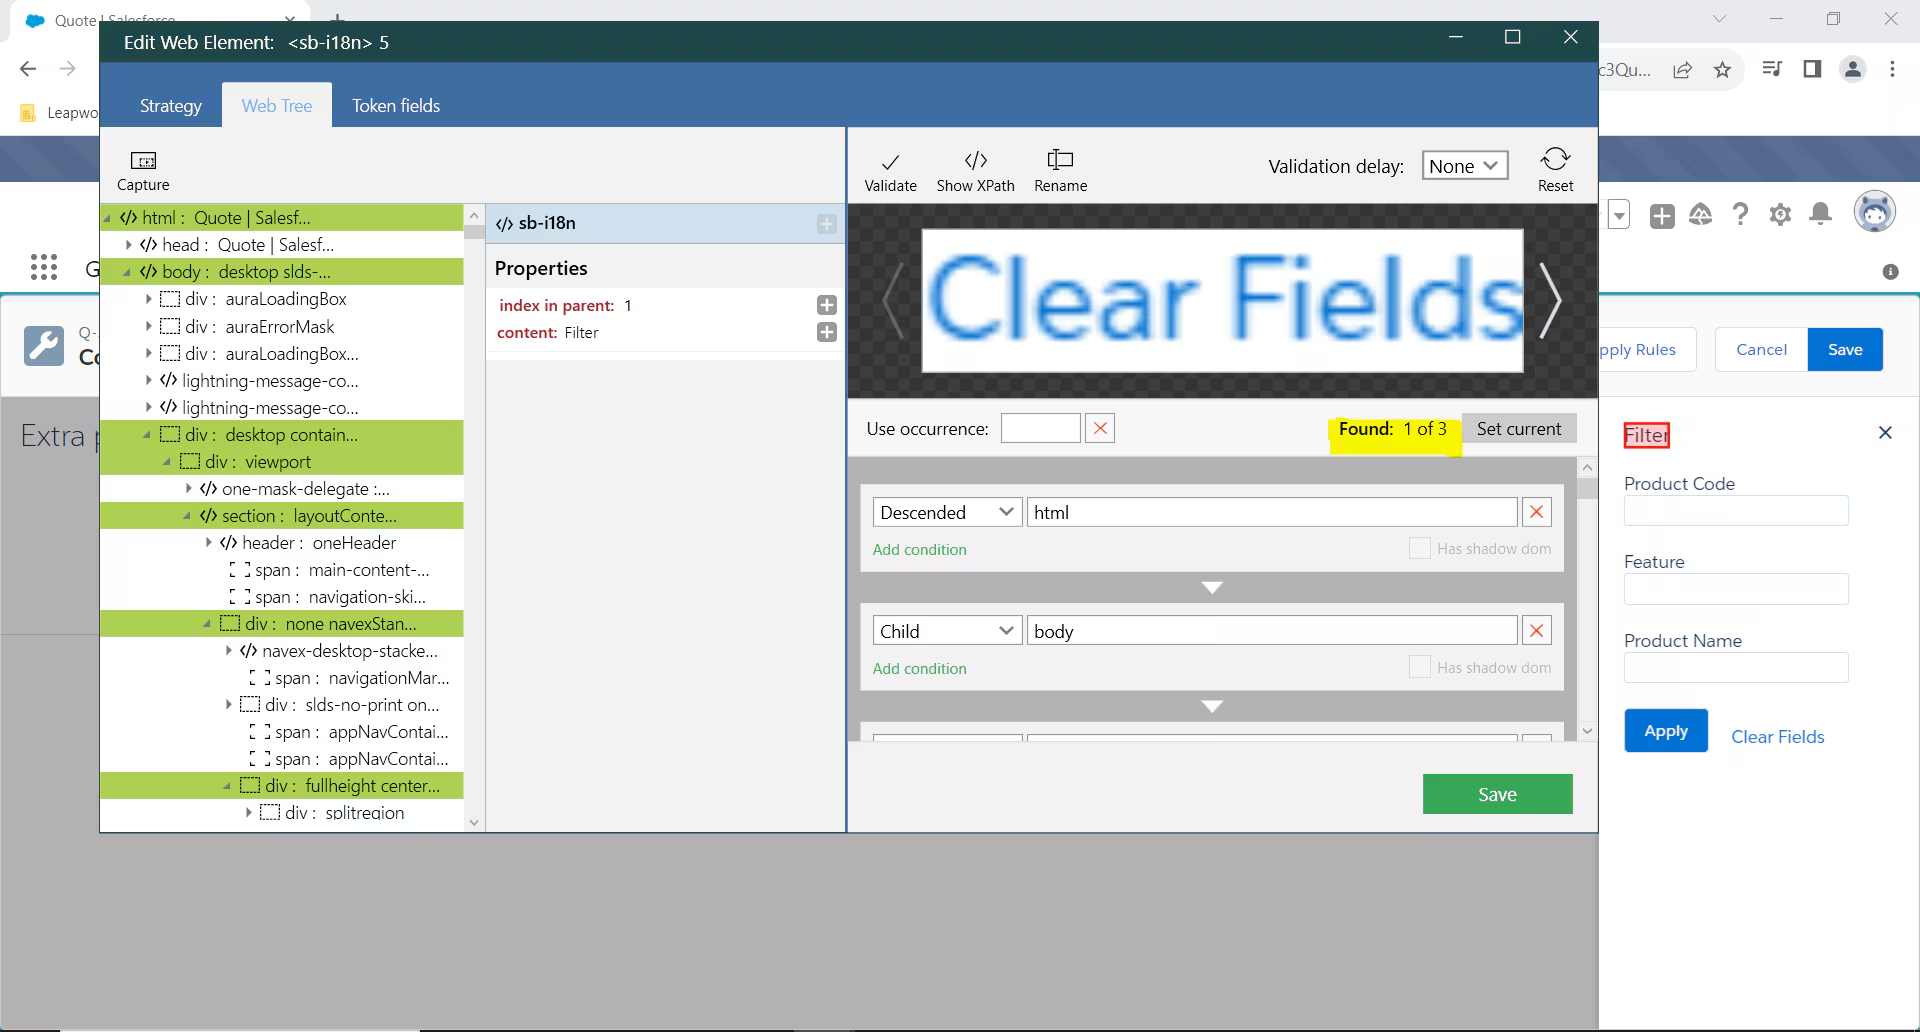
In the strategy editor, locate the Use occurrence field and enter a value (e.g., 1, 2, 3...).
-
Click Validate, then Save.
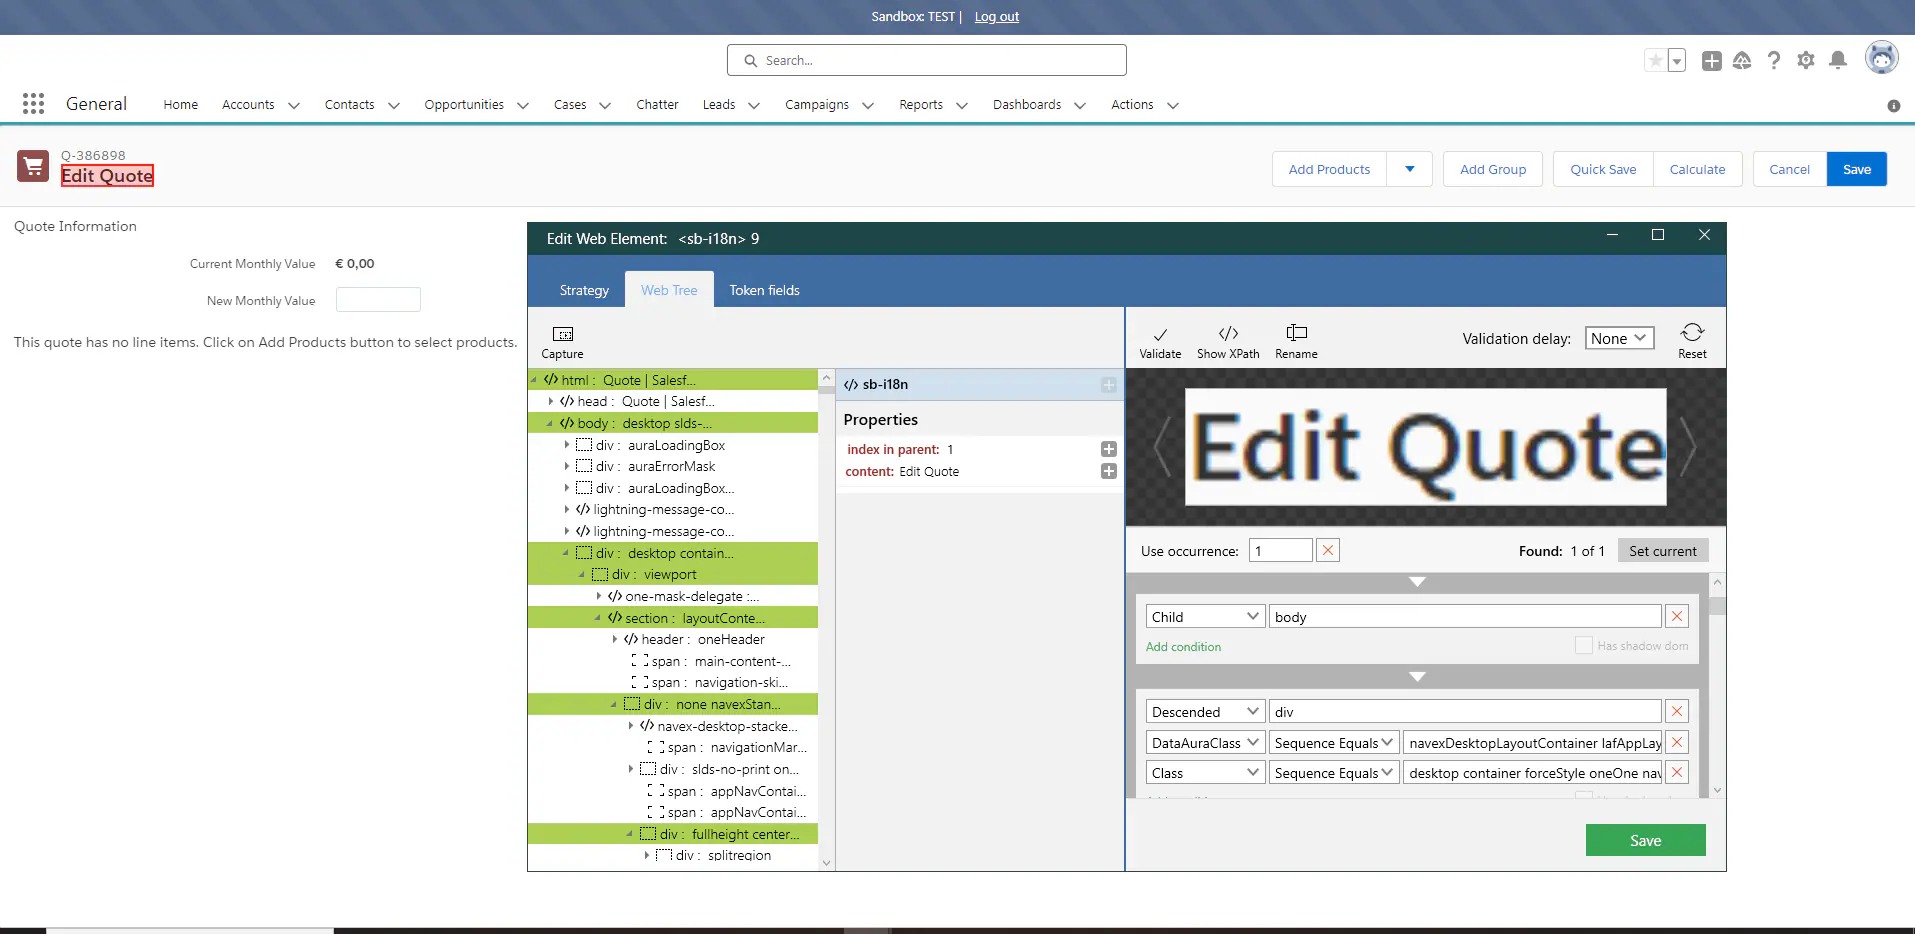
Option 2: Manually edit the existing strategy
-
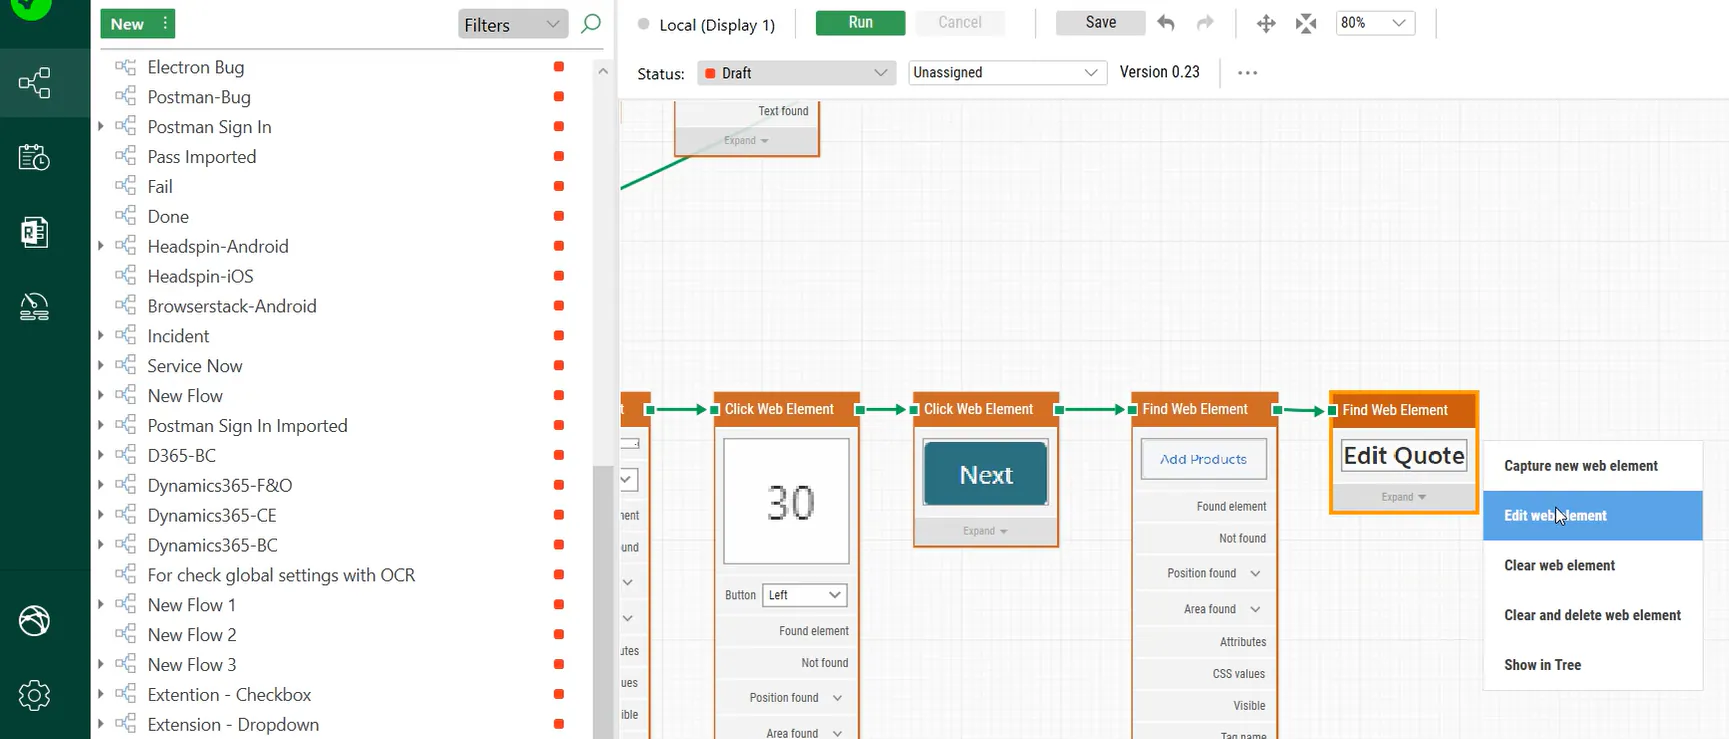
Click the web element in the flow (e.g., Edit Quote).
-
Right-click and select Edit web element.
-
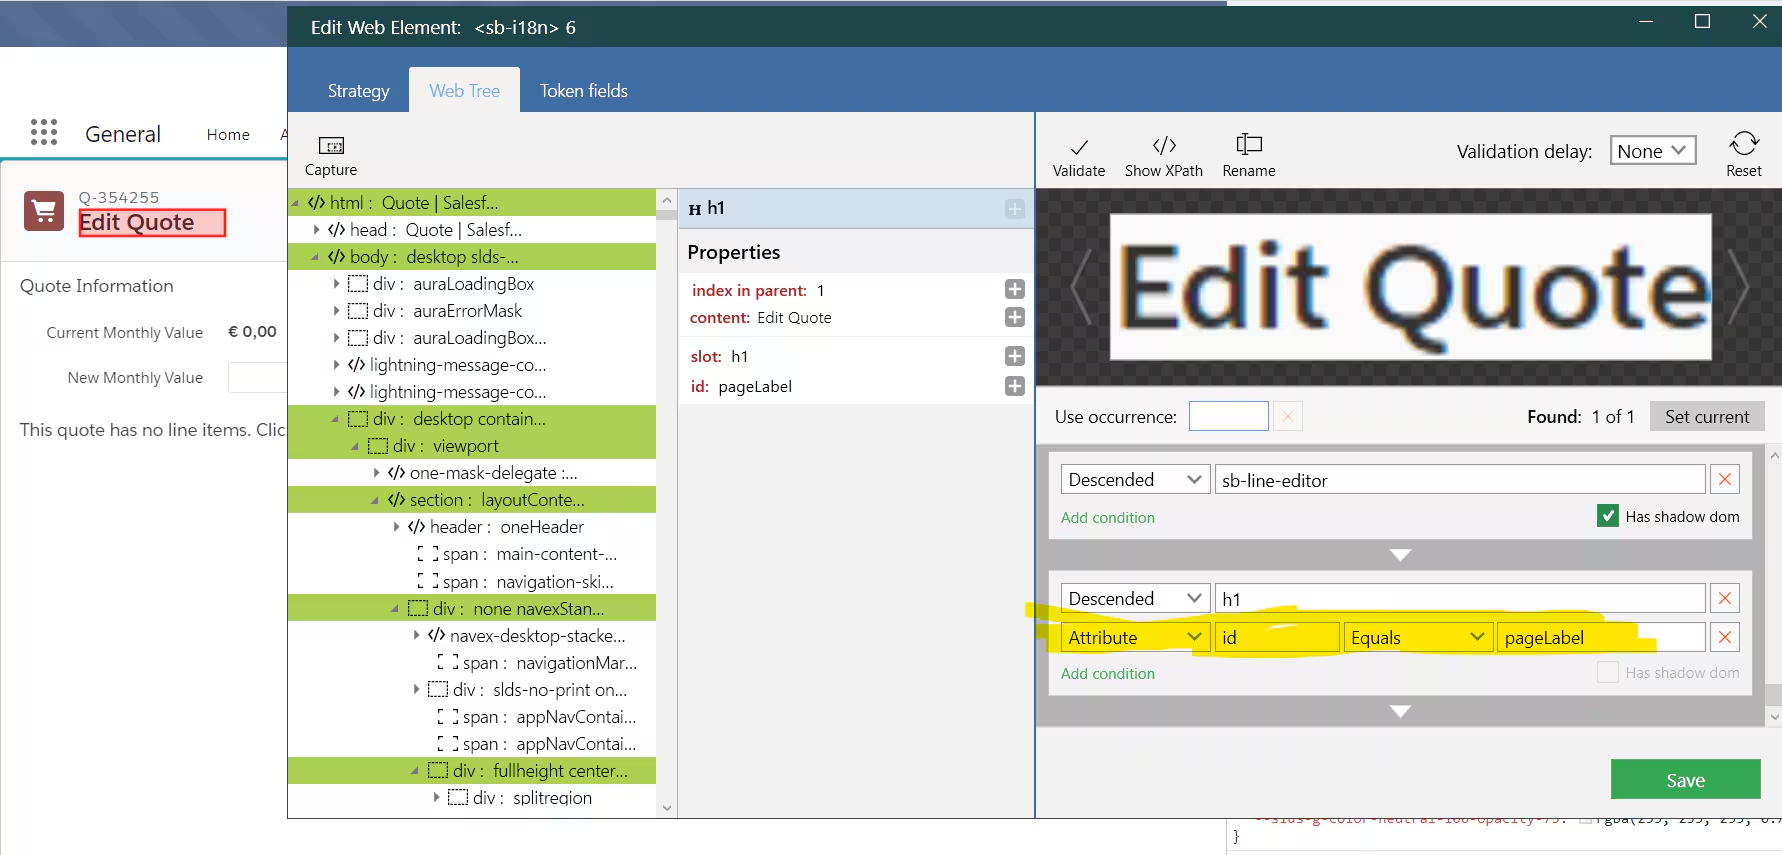
In the strategy editor, adjust the selector manually.
-
Add or edit the occurrence value.
-
Click Validate, then Save.
How can I work with Salesforce tables in Leapwork?
To interact with Salesforce data in Leapwork, you need to connect via an ODBC driver and use the Database block. Once configured, you can perform SELECT, INSERT, UPDATE, and DELETE operations.
A. Prerequisites
-
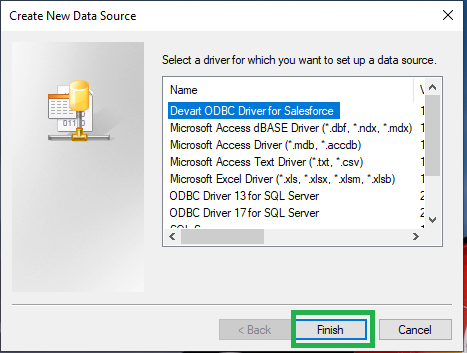
Install a 64-bit ODBC driver for Salesforce (e.g., Devart).
-
Ensure you have valid Salesforce credentials (username + password).
-
Know the API name of any table or field you want to work with.
B. Configure ODBC for Salesforce
-
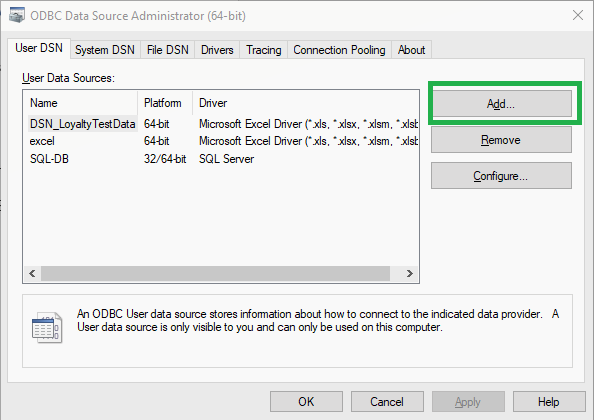
Open the ODBC Data Sources (64-bit) application on your system.
-
Click Add and select your Salesforce ODBC driver.
-
Enter the required connection details:
-
Name is used in database block as "Connection" while accessing database from Leapwork.
-
Description (optional).
-
Salesforce server you want to connect with.
-
Username.
-
Password.
-
Click Test Connection to verify access.

-
-
Click OK to save the configuration.
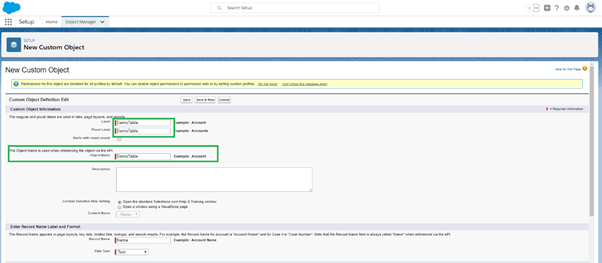
C. Create a Custom Table in Salesforce
-
Log in to your Salesforce account.
-
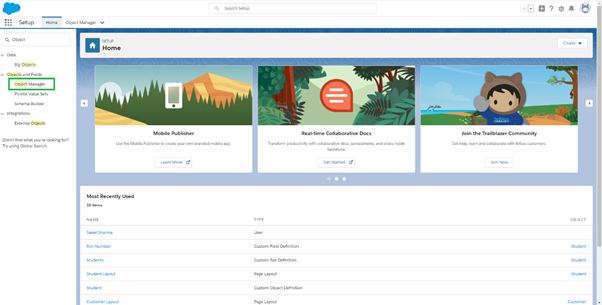
In the Quick Find bar, type Object Manager and open it.
-
Click Create → Custom Object.
-
Enter the Label, Plural Label, and Object Name (this last one becomes the API name).
-
Scroll down and click Save.
-
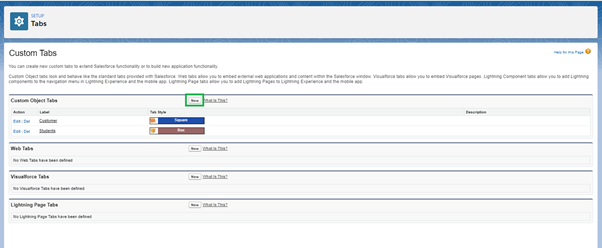
In the Quick Find bar, type Tabs and open Tabs settings.
-
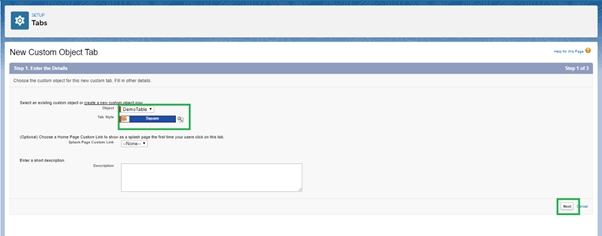
Click New under the Custom Object Tabs section.
-
Select your custom object from the dropdown.
-
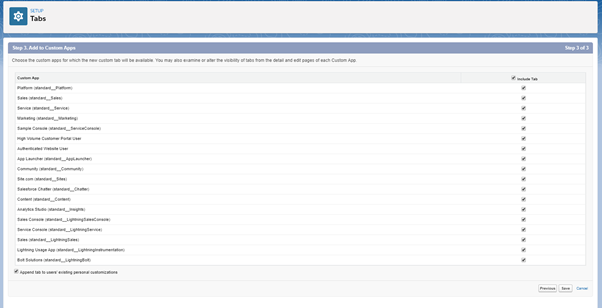
Choose a Tab Style, then click Next, Next, and finally Save to finish the tab setup.
-
Return to the Salesforce homepage.
-
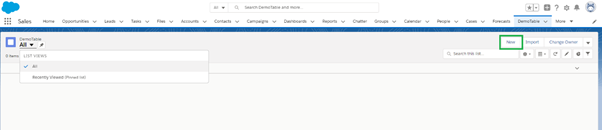
Click the App Launcher (grid icon) and select the app where your tab is available.
-
Click More if needed, then find and open your new tab.
-
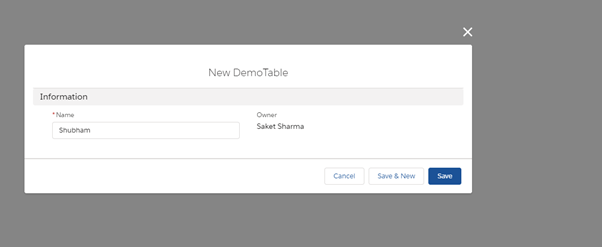
By default, the tab will show an empty list. Change the view to All, then click New to add your first record.
-
Fill in the fields and click Save, or use Save & New to enter more records.
D. Perform Database Operations in Leapwork
In Leapwork Studio, use the Database block to execute SQL queries:
-
SELECT – Read records. Some system fields may appear by default.
-
INSERT – Add new records. Use API field names in your SQL.
-
UPDATE – Modify existing data. Again, use API field names.
-
DELETE – Remove records using matching criteria.
Once your connection is set, you can fully automate data operations in your Salesforce environment.
How do I handle Salesforce email or phone validation during login?
In order to turn off Email & Phone validations in Salesforce account you need Set Trusted IP Ranges.
Trusted IP Ranges define a list of IP addresses from which users can log in without receiving a login challenge for verification of their identity, such as a code sent to their mobile phone.
You can "Set Trusted IP Ranges" in your Salesforce login using following steps:
-
From Setup, enter Network Access in the Quick Find box, then select Network Access.
-
Click New.
-
Enter a valid IP address in the Start IP Address field and a higher IP address in the End IP Address field.
The start and end addresses define the range of allowable IP addresses from which users can log in, including the start and end values (usually 0.0.0.0-255.255.255.255). If you want to allow logins from a single IP address, enter the same address in both fields.
-
Optionally, enter a description for the range. For example, if you maintain multiple ranges, enter details about the part of your network that corresponds to this range.
-
Click Save.
Why can’t Leapwork capture a screenshot of the Salesforce login page on mobile?
Some mobile apps, including Salesforce, apply security restrictions that block screenshots on sensitive screens like login pages. This prevents Leapwork from interacting with the login screen using Appium.
What does this mean?
-
The login process cannot be automated with Leapwork’s mobile blocks.
-
A manual login is required before automation can begin.
-
Once logged in, Leapwork can automate pages that don’t restrict screenshots.
This is a security policy enforced by the mobile platform or app, not a limitation of Leapwork. To work around this, start your mobile flows from a screen that is accessible post-login.