
What is a flow?
In Leapwork, a flow represents a complete automation sequence. Depending on how you use Leapwork, a flow can be:
-
A test case (in QA/testing contexts)
-
A business process (in RPA/operations contexts)
You create flows visually using Leapwork’s no-code canvas. Each flow uses connected building blocks to define the logic, and can include verification steps, branching, loops, data-driven logic, and references to reusable components.
Flows are the core unit of automation in Leapwork, they define what runs, where it runs, and how it runs.
Note: The screenshots on this page use the Elegance Design, introduced in 2025.3. If you are using an earlier version, your layout may look different.
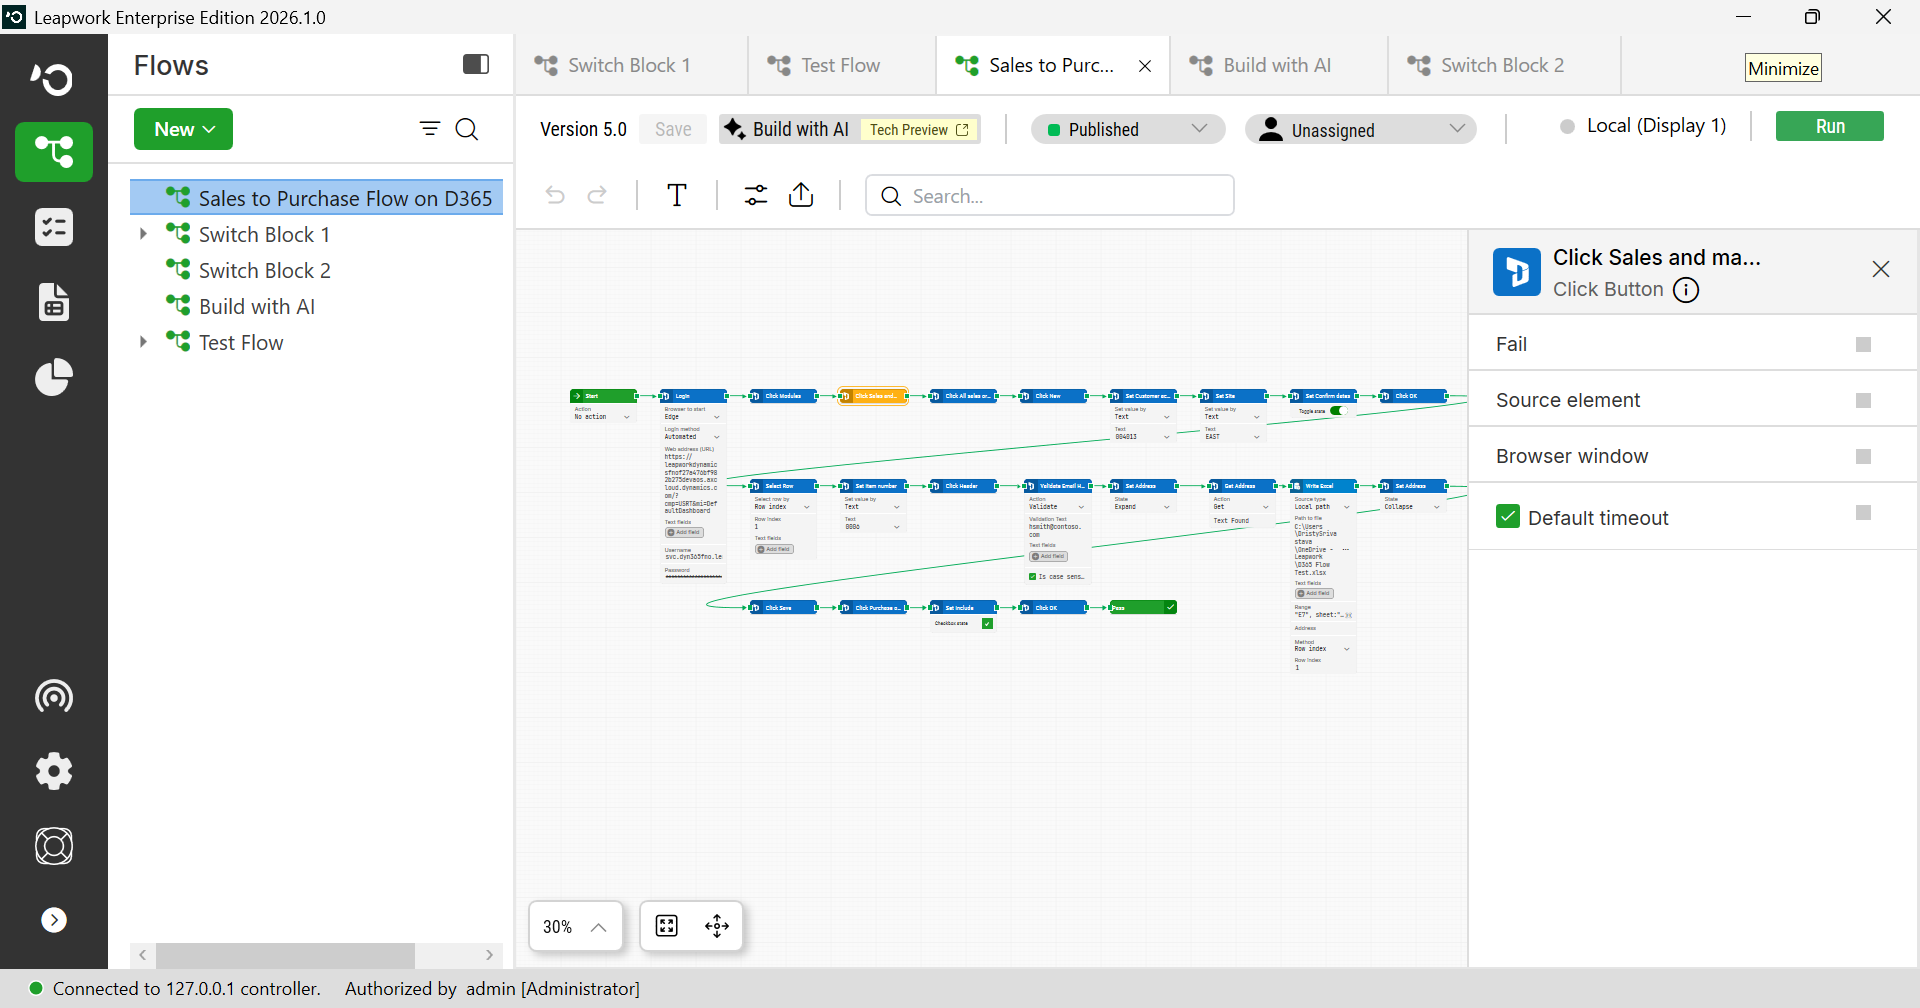
Flows are visible in two places within Leapwork Flow:
-
On the left, in the Flows panel, where they are listed in a folder tree structure along with their associated assets.
-
On the right, in the Design Canvas, where the selected flow is opened and displayed as a series of connected building blocks.
From the Flows panel, you can manage flow structure, while from the Design Canvas, you work with the actual logic and steps that make up the flow.
Each flow may include nested assets, such as:
-
Captured Elements
-
Uploaded Files
-
Image Collections
Together, these two areas represent both the organizational and design layers of working with flows in Leapwork.
What you can do with a flow
When you right-click a flow, a context menu opens with options to manage and run it. From here, you can edit, organize, share, or execute your automation directly from the panel.
Available actions:
|
Option |
Description |
|---|---|
|
New Folder |
Creates a new folder at the same level |
|
New Flow |
Creates a new flow |
|
New Sub-flow |
Creates a standalone subflow |
|
Upload File |
Attaches a data file (e.g. Excel or CSV) to the flow |
|
Edit |
Opens the flow on the Design Canvas |
|
Set status to |
Assigns a custom status label (e.g. Draft, Ready for review, Published, Retired) |
|
Assign to |
Assigns the flow to a user/team (if configured) |
|
Delete |
Removes the flow |
|
Rename |
Renames the flow |
|
Copy |
Copies the flow |
|
Paste |
Available after copying; opens the Copy modal to complete the action, where you can choose to copy or duplicate the flow |
|
Share |
Opens the Share Flow modal, allowing you to copy a link or send it via email |
|
Import
|
Imports a single flow from a zip file |
|
Import Folder |
Imports a folder containing flows/assets |
|
Export |
Exports the flow as a zip file |
|
Export As Folder |
Exports the flow and its assets into a folder structure |
|
Version History |
Opens the version control panel |
|
Run Now |
Executes the flow using the selected agent |
|
Migrate To |
Migrates a standard flow to a D365 F&O or Salesforce Fusion flow using Web blocks only; non-Web blocks are skipped. Does not support folders, subflows, or bulk migration. Requires Local Agent. |
|
Add to Run List |
Adds the flow to a run list and lets you choose the specific step where it will be placed. |
|
Show Usage |
Displays the run lists where the flow is used |
|
Remove Unused Elements |
Deletes unused elements, images, and data from the flow or folder to improve clarity and reduce clutter |
|
Expand / Collapse |
Expands or collapses nested items under the flow |
|
Get ID |
Copies the internal ID of the flow for integrations |
Organizing Flows
Flows can be:
-
Renamed
-
Moved across folders (drag-and-drop)
-
Duplicated or reused as subflows
-
Migrated.
Clear folder structures and flow naming conventions make it easier to scale and maintain automation over time.
For a complete explanation of how to build, connect, run, and manage flows, see the section on how to design a flow.