
This guide will help you set up Leapwork in your environment and ensure a smooth experience as you begin automating tasks using Leapwork Flow and Leapwork Controller and Agent(s) hosted on Leapwork cloud.
By following the simple steps in this guide, you'll be able to configure Leapwork Flow and connect it with Leapwork Cloud Controller and Agents.
Installing Leapwork Flow on your infrastructure.
Pre-requisites
1: Operating System and Flow Machine Configuration
Before starting the installation, ensure that your studio machine meets the necessary system requirements:
2: Administrative Privileges
Ensure that your IT person doing the installation has administrative privileges on the respective infrastructure. This is essential for completing the installation.
3: .NET Framework
-
Download the latest version of the .NET Framework from the following link. Install it on the on-prem/remote machines where Leapwork components installation is to be performed.
Versions 2025.2 and 2025.3 have different .NET Framework requirements. Make sure to follow the requirements specified in the installer. For more details, see the Customer Portal (CP) download section.
Flow Installation
Once .NET is installed, download the latest Leapwork release and install Leapwork Flow.
Installation Steps
-
Download the latest release from the CP.
-
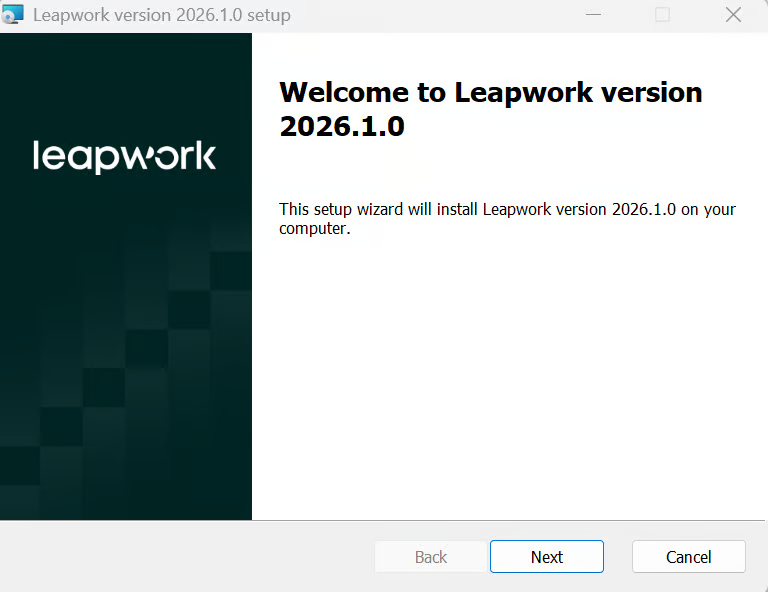
Open the MSI file location and double-click the .msi file to start installation. The first screen shows the version number and confirms compatibility.
-
Click Next to start installation.
-
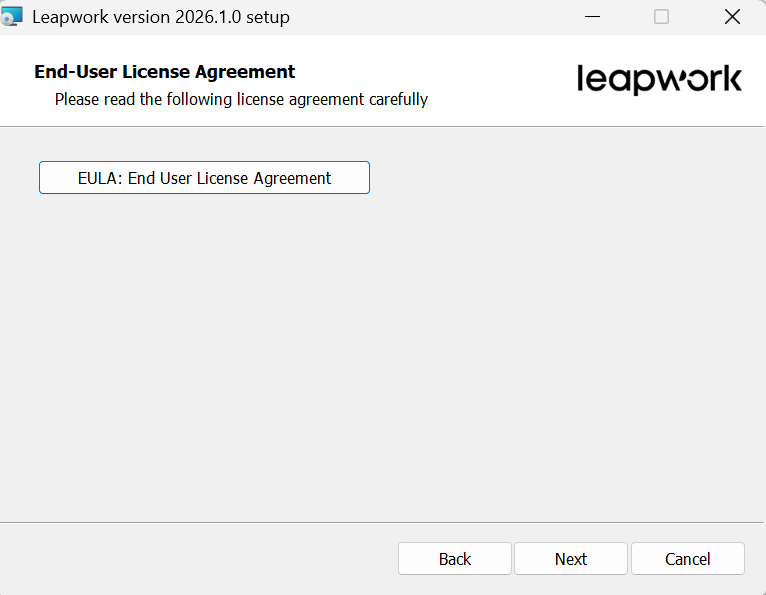
Read the end user agreement, select the I accept the terms in the license agreement checkbox, and click the Next button to proceed.
-
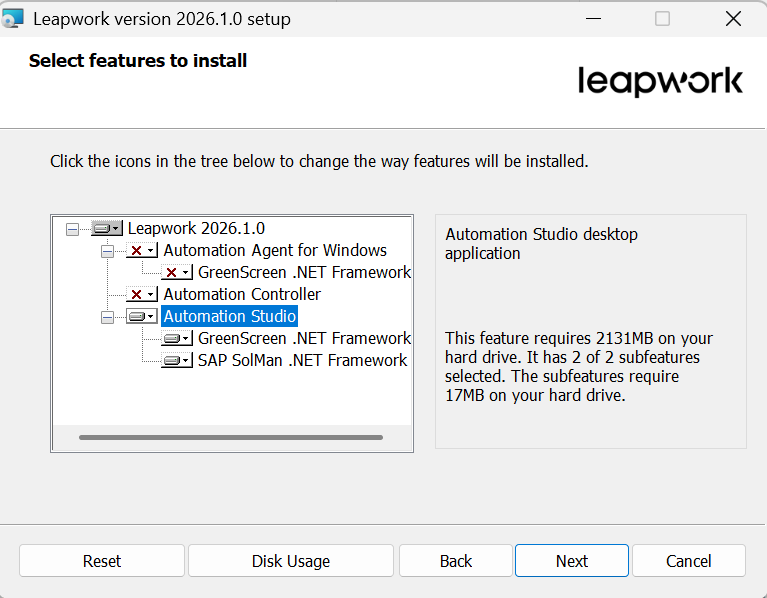
Choose Automation Flow and deselect other two, you can keep Agent if you want to keep in same machine, but we do not recommend having agent installed on studio machine.
-
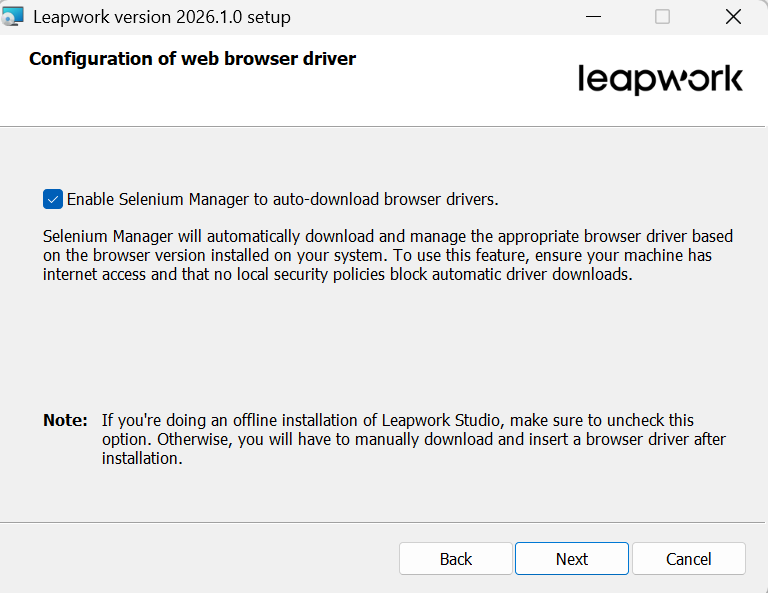
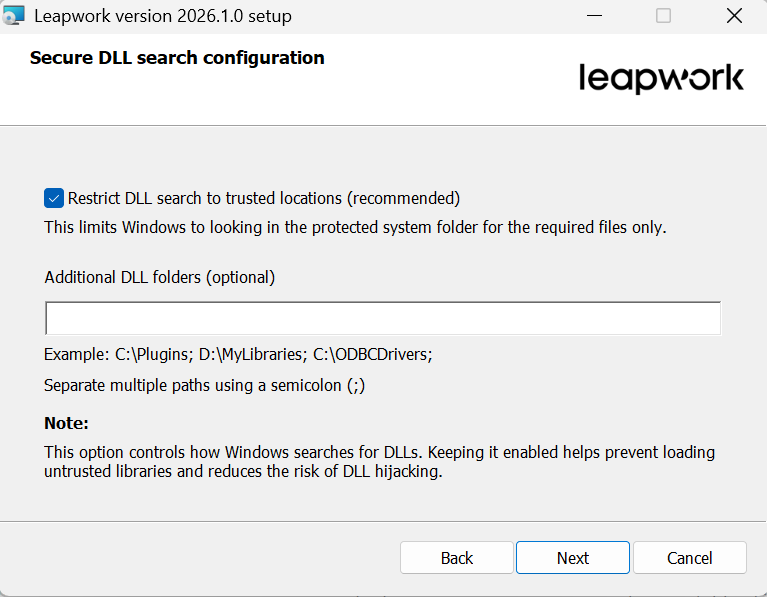
Check Enable Selenium Manager to auto-download browser drivers if you want Leapwork Flow to automatically download the matching browser drivers from the internet during runs. Otherwise, leave it unchecked to use the packaged drivers installed locally, then click the Next button. Click Next.
-
Click Next button.
-
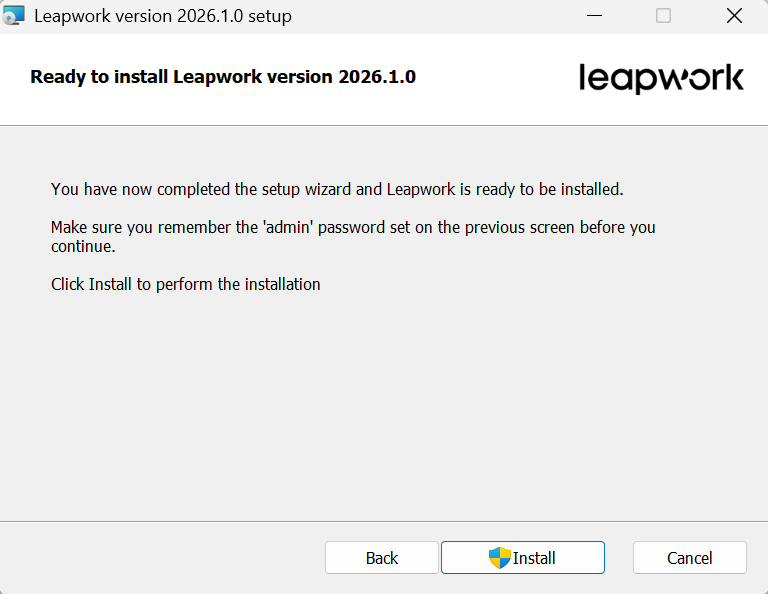
Click Install to begin installation.
-
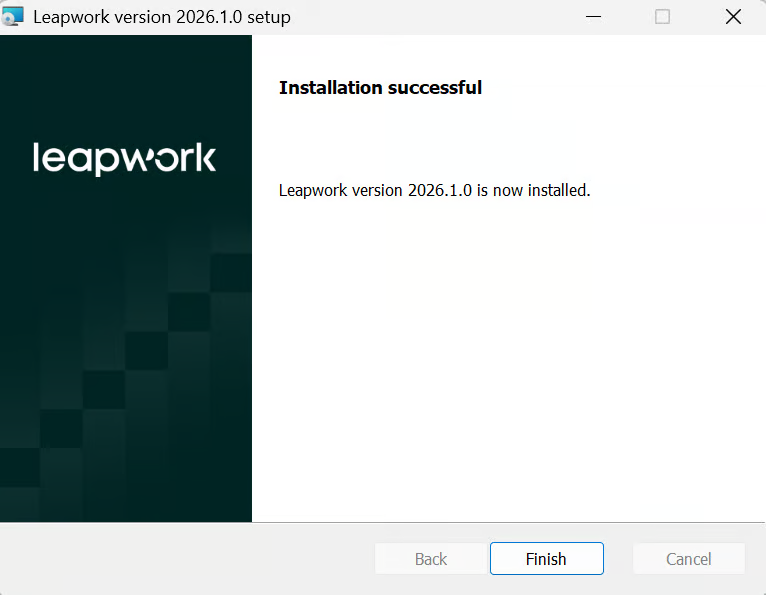
Click Finish to finish installation.
Configuring Flow
-
Open Leapwork. The Flow Icon Will open Leapwork Flow Authentication Window as shown below:
-
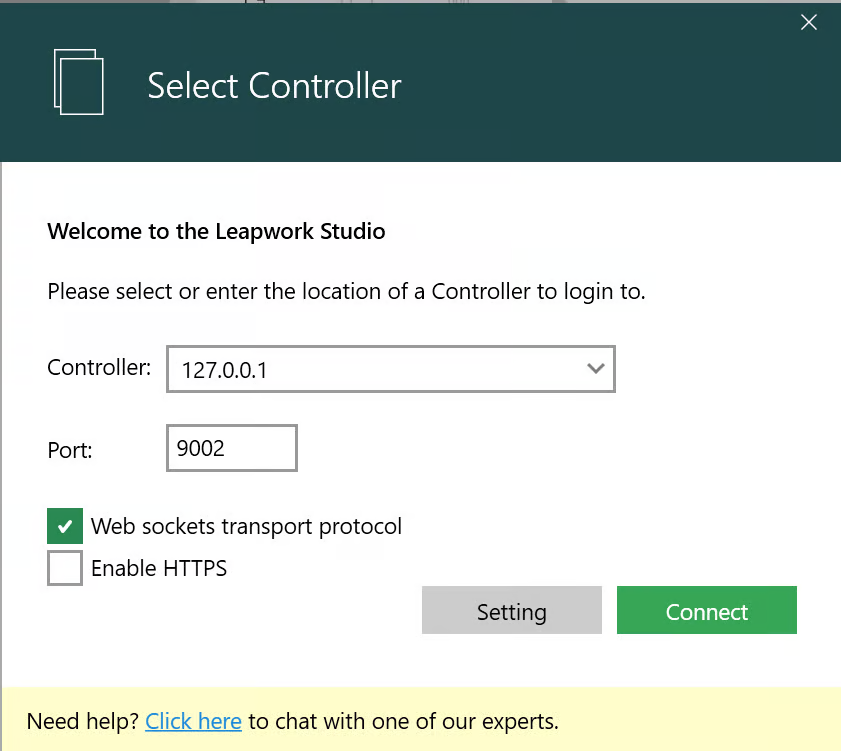
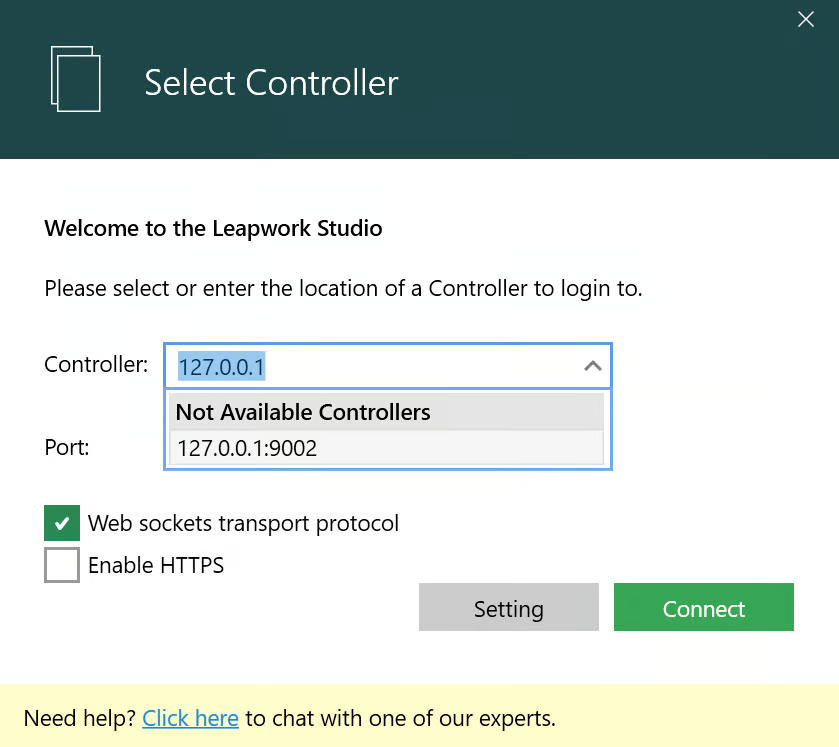
Click on Select Controller button.
-
Choose a Controller to select the one used in your organization.
Note: If you can’t find the name of the controller by default, then you can type it manually on the same dropdown control.
-
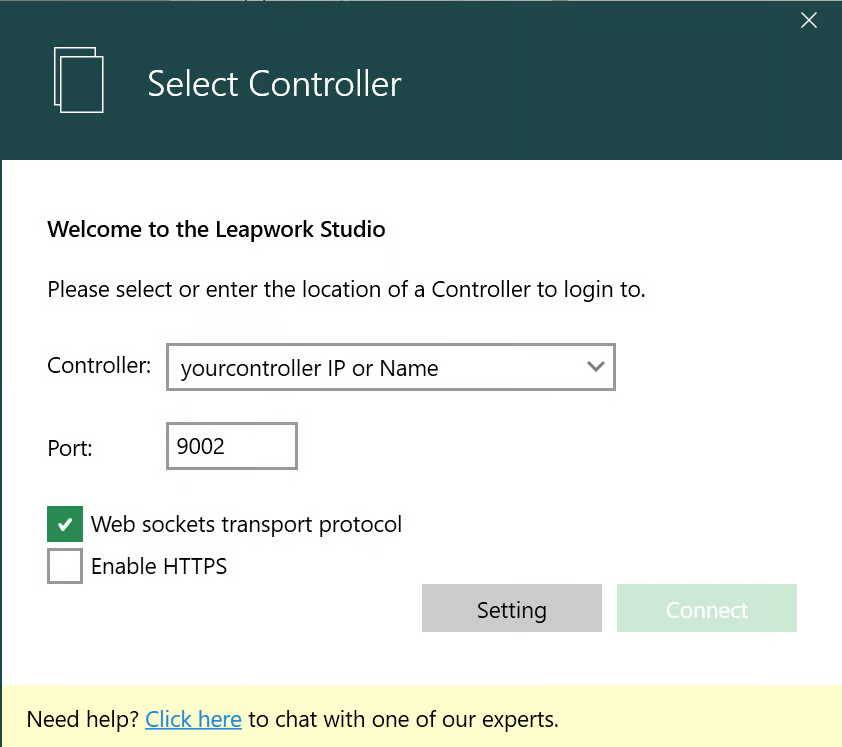
Change the port number of controller if you have changed it during controller installation.
-
Enable the Web sockets transport protocol checkbox to allow faster communication between Flow, Controller, and Agent.
-
Once you are done with all the above settings, click the Connect button.
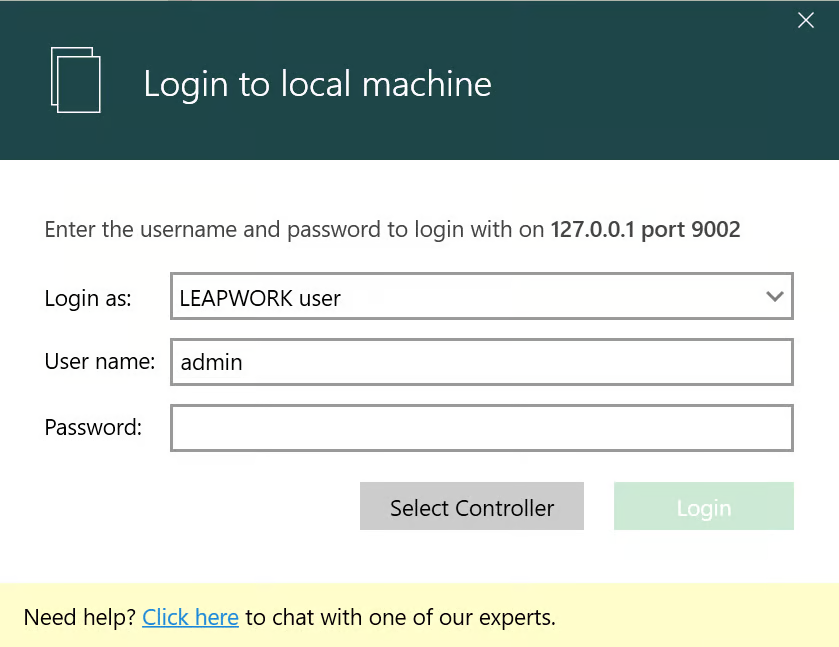
It will take you back to Leapwork Flow Authentication Window. To log into Leapwork for the first time, you need to use your admin credentials in the Leapwork Flow Authentication Window.
-
Enter the credentials and press the Login button.
Leapwork Administration
If your role is defined as an Admin, you have access to Leapwork Administration, and you can perform actions shown below.
-
Controller Settings: Change controller settings
-
User Management: Add, Remove, Update Leapwork Users
-
Team Management: Add, Remove, Update Leapwork Teams
-
Workflow Settings: Edit Workflow settings
-
API Access Keys: Generate API Keys
-
E-Mail Settings: Update email settings that use to send email from Leapwork
-
Proxy Settings: Update Leapwork proxy settings
-
Default Automation Flow Settings: Update flow settings
-
Capture Settings: Change the way Leapwork captures an object
-
Retention Policies: Add, Remove, Update Leapwork retention policies
-
License Management: License management, Add, Remove, and Update Leapwork licenses
-
Audit Log: Check Audit logs
We recommend you add a Team and a few users after installation and check that flow creation is working.
Afterward, use the following link to import the flows created during the proof of value phase.
By following this guide, you'll be ready to start automating your tasks with Leapwork Cloud.