
The Capture process is an essential part of designing automation flows. Capturing an element in a building block means gathering information about the element, so that it can be found when the flow is executed. Examples include an ID of a field, text inside a link, a table row number, or an image on the screen.
Note: Capture settings will be available if you are logged in as an administrator.
The Capture Settings section sets default values for capturing elements in automation flows.
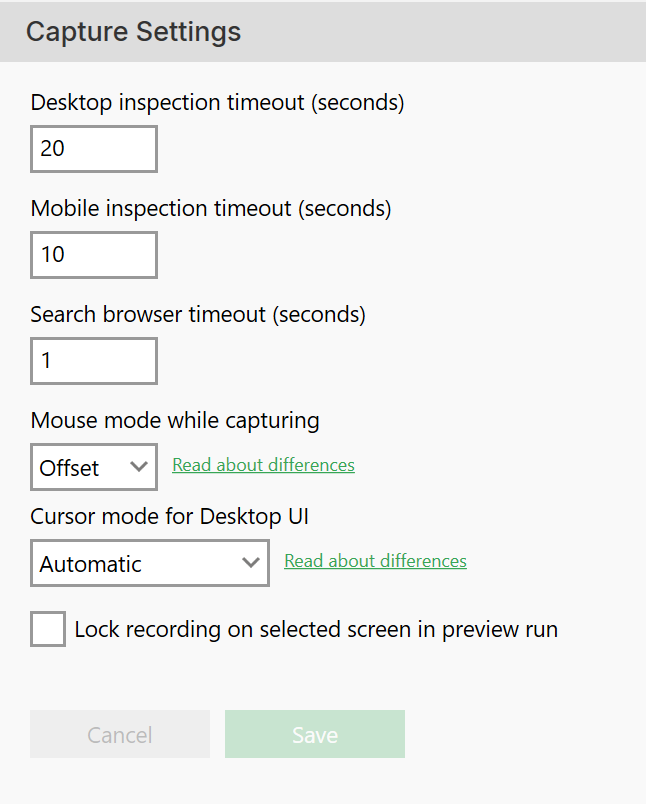
Desktop and web inspection timeout
Desktop and web inspection timeout defines the maximum duration of the individual capturing process in a building block. In other words, the time from selecting an element in the running application to capturing the information back into the building block.
If the building block cannot find the necessary information within the specified time, it cancels the capture operation.
If you experience frequent capture failures not caused by the automated application, performance issues on the Flow host machine may be the cause. Consider increasing these settings in that case.
Search browser timeout
Search browser timeout is the time Leapwork will allow a browser (or a tab in a browser) to be unresponsive before declaring a timeout.
Mouse mode while capturing
The Mouse mode while capturing setting is especially relevant when using Leapwork Flow via a VDI or similar virtual desktop context.
The default setting is Offset, which works perfectly for most users. Selecting Position is relevant in the VDI/Virtual context. Here,Leapwork captures the pointer’s position to ensure accuracy.
For more information about Mouse mode, read this article on our Knowledge Base.
Cursor mode for Desktop UI
Leapwork manages system mouse movement while inspecting Desktop applications, it does not affect Web automation at all. This option must be used in both single elements capturing mode and Smart Recorder.
Lock recording on selected screen in preview run
Check the Lock recording on selected screen in preview run checkbox to lock the recording on the desired screen during preview runs.
Click Save button to store all details.