
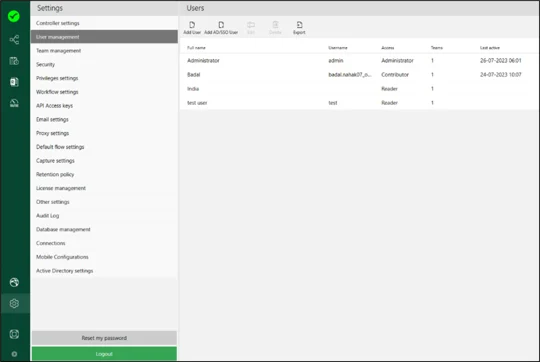
In User Management, you can define, manage, and control your team members’ user roles and privileges directly from Leapwork’s settings.
After installing the Controller, your first step is to create user accounts for everyone who needs access to Leapwork. This can be done by creating users directly in Leapwork or by configuring access through Active Directory (AD).
By default, an admin user account is created during installation. The password is set at that time. For security reasons, the password cannot be recovered, so make sure it is stored securely.
User management settings are available only when you are logged in with administrator privileges.
Adding users directly in Leapwork
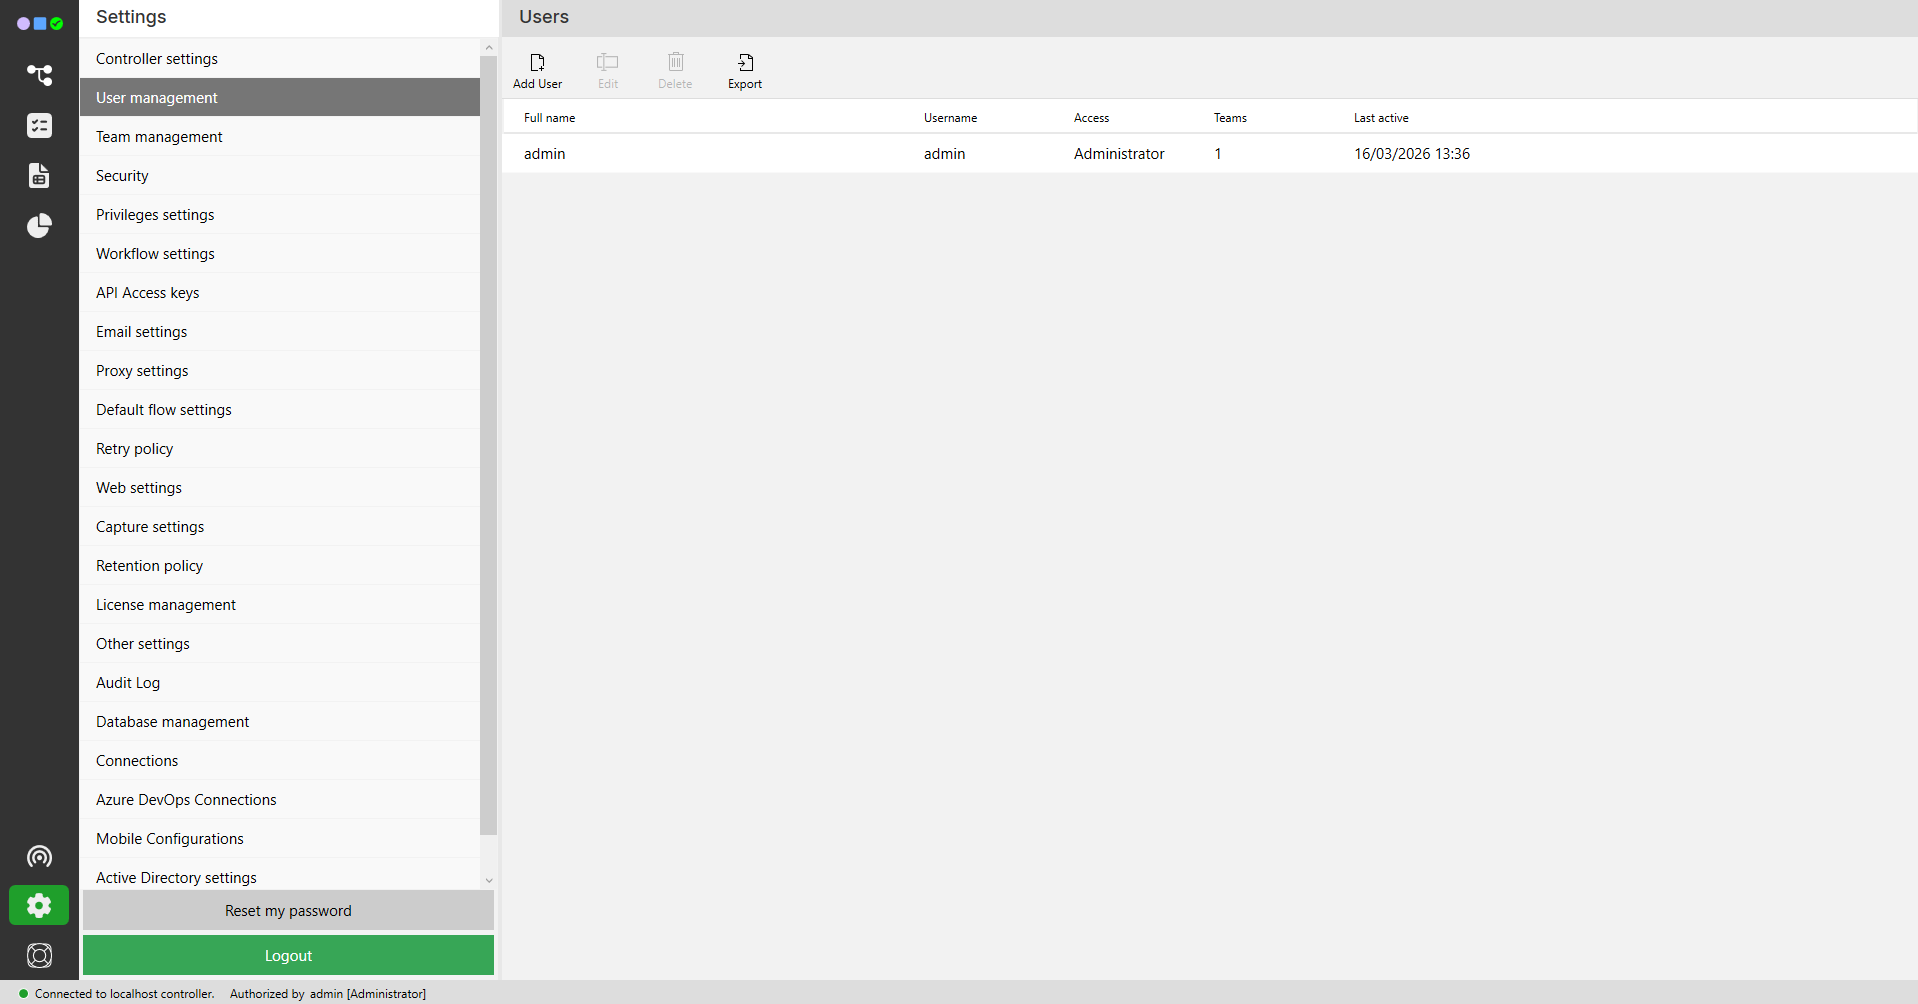
To add a user:
-
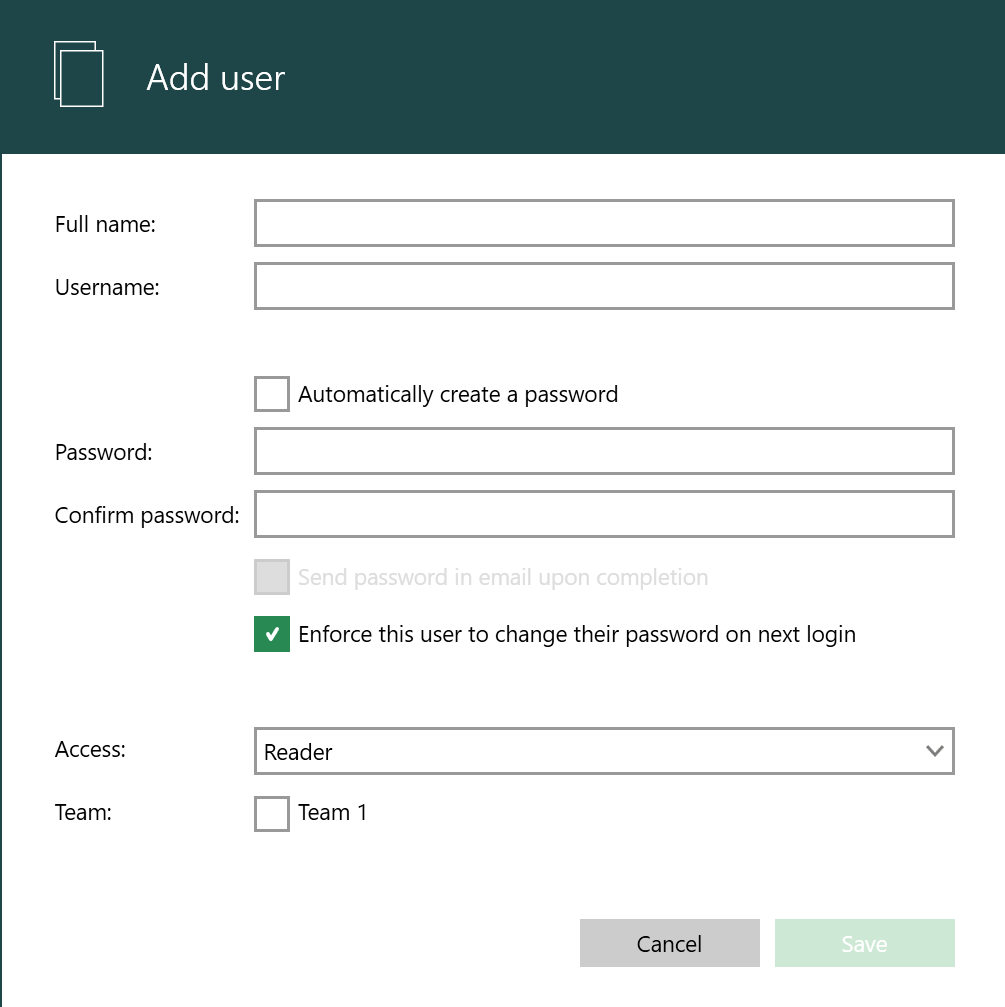
Simply click on the Add user button. The following pop-up then appears:
-
Enter only basic information to create a user account on Leapwork:
-
Full Name: This is the user’s display name and appears in logs, reports, and audit trails.
-
Username: Used by the user to log into Leapwork Flow.
-
Access Level: Selected from a drop-down menu, this determines the user's default privileges.
These roles apply to all folders, flows, and sub-flows in Leapwork. For example, a user with the Reader role has consistent read-only access across the platform.
Additionally, Privileges Settings defined by the Administrator apply globally to all users of a given role, allowing fine-tuned control over what users can do regardless of their base role.
-
Once the user information and access level have been defined:
-
Set a password: You can either create a password manually or let Leapwork generate one automatically.
-
Enforce password change (optional): Select the checkbox to require the user to change their password upon first login.
-
Assign the user to a team: Teams help organize collaboration and manage permissions.
-
Share credentials: After creating the user account, share the login credentials with the user manually.
Team collaboration and management features are only available in the Leapwork Enterprise Edition. These options will not appear in the Platform Edition.
Using Active Directory (AD) to control access
Leapwork supports a mixed user setup, where some users are created directly as users (with a username and password) in Leapwork, and some users get the access via AD.
Note: To use AD to control access to Leapwork, both the computer with the user's Flow and the Controller must belong to the same AD. Otherwise, the options below will be unavailable.
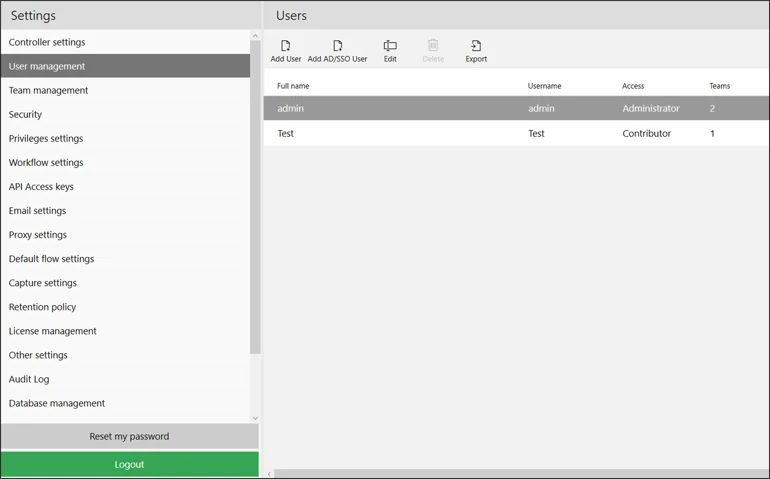
In the User Management section, the option Add AD/SSO User is visible if Leapwork supports AD access control.
To add an access level for either a user or a group from AD:
-
Click on Add AD/SSO User button:
-
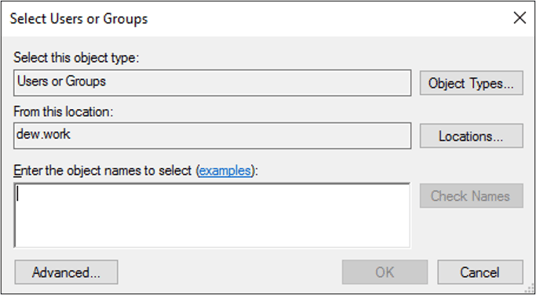
In the Select Users and Groups dialog, specify the AD name of a user and/or a group then click OK.
-
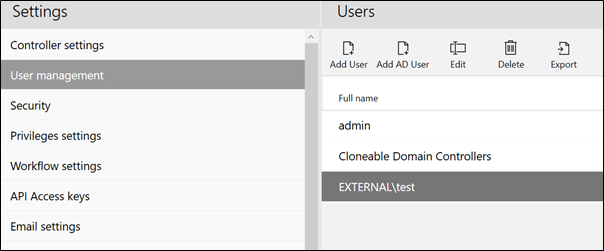
With the AD entity now selected, specify the access level for the selected entities. In the example below, the Select Users and Groups dialog shows the group name External/test
-
Once the access level is set, click Save.

You can see the new configuration in the access configurations list.
Add AD (Lightweight Directory Access Protocol (LDAP) User
LDAP integration with Leapwork is a newly added feature. Connection tab lets you set up a connection to the LDAP server. To deepen your understanding of LDAP and the Connection tab, you can explore our detailed guide here.
To add an LDAP user or group, from Settings:
-
Go to User Management.
-
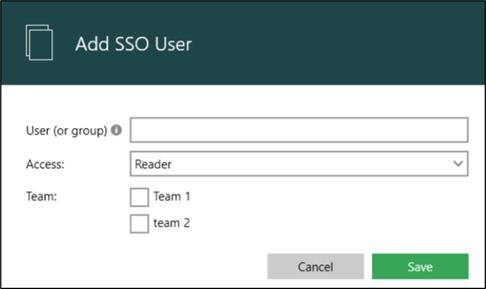
Click on Add AD/SSO User and a new window open:
-
Enter the User or Group name to authorize the user or group in the LDAP directory.
-
Select Access from the drop-down menu.
-
Check the Team checkbox as needed.
The Team checkbox is only for Leapwork Enterprise Edition users).
-
Click Save to save the User or Group.
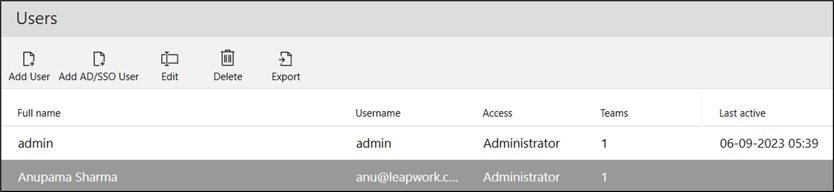
To the right of the Add AD/SSO User button, use the Edit, Delete and Export buttons to modify, remove, or export user profiles to Excel.
Add SSO User
The Azure Active Directory (AAD) integration with Leapwork is a newly added feature. To learn more about AAD SSO and the Connection tab, see the related documentation. Connection tab lets you set up a connection to the AAD SSO server.
To add AD/SSO user or group, from Settings:
-
Go to User Management.
-
Click on Add AD/SSO User and a new window opens:
-
Enter the User or Group name existing in the Azure Active Directory of the added connection.
-
Select Access from the drop-down menu.
-
Check the Team checkbox as needed.
The Team checkbox is available only for Leapwork Enterprise Edition users).
-
Click Save to save the User or Group.
To the right of the Add AD/SSO User button, use the Edit, Delete and Export buttons to modify, remove, or export user profiles to Excel.

Login options
When a user accesses the Flow the first time, they can choose how to log in - using a username and password or using the AD/SSO.
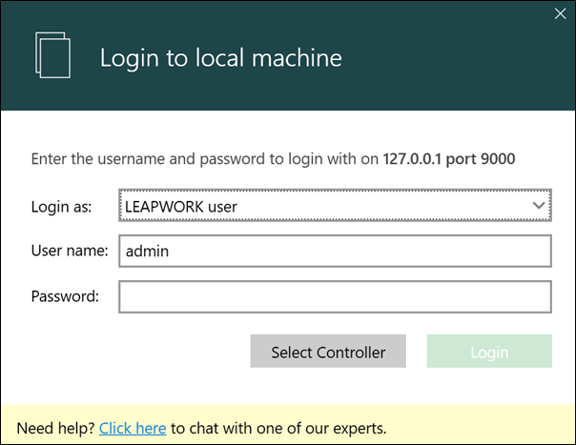
If Leapwork user is selected, the user will have to enter the username and password - typically provided by the administrator in an email or similar:

In case the user selects Active Directory user, the current Windows user is evaluated against the AD configurations in the user management section:
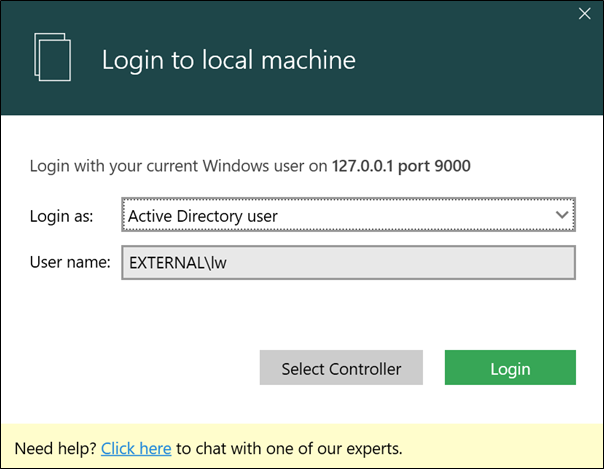
If a Windows user is member of more than one AD group, and the different AD groups allow different access levels in Leapwork, then the user will be given the highest privileges.
-
In case you select SSO user, the current Windows user is evaluated against the SSO configurations in the user management section.
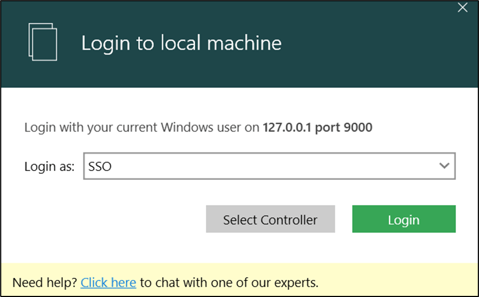
Note: Users with valid SSO credentials added as SSO users will be redirected to the authentication page, after which their credentials are remembered.
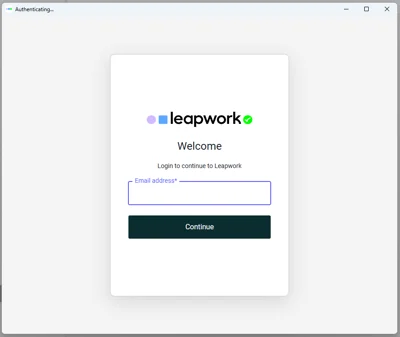
For all login types, you only need to sign in once.
After the first successful login, Leapwork remembers your session.