
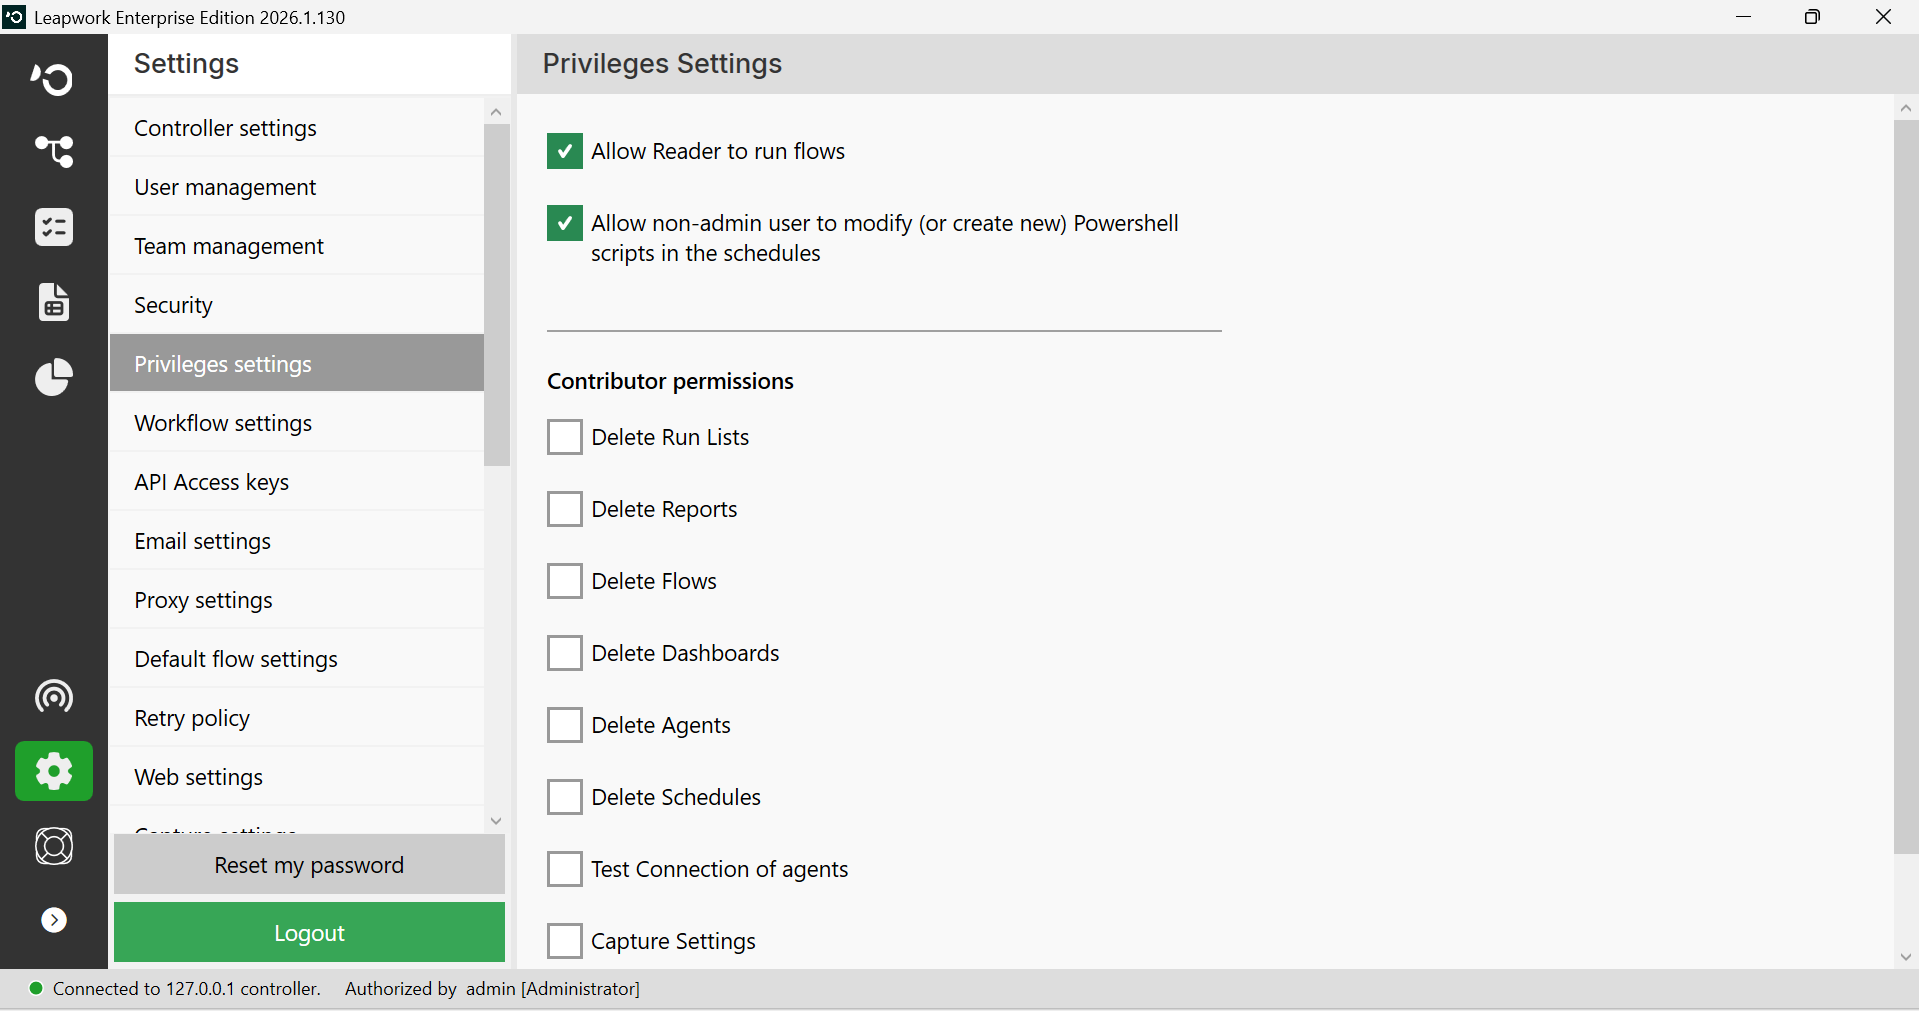
The Privileges settings section is used to change default privileges.
Note: Privileges settings would be available if you are logged in as an administrator.
Note: The screenshots on this page use the Elegance Design, introduced in 2025.3. If you are using an earlier version, your layout may look different.
In the Privileges settings tab, you'll find these options:
-
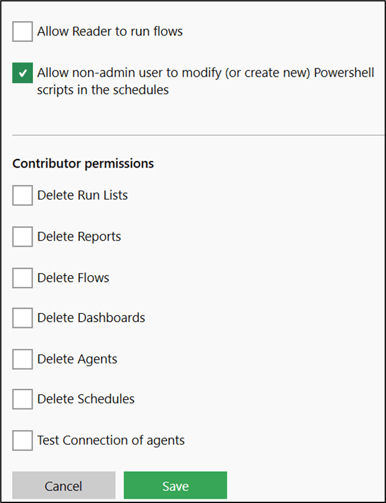
Allow Reader to run flows (checked by default)
-
Allow non-admin user to modify (or create new) Powershell scripts in the schedules (checked by default)
-
Contributor permissions
When the “Allow Reader to run flows” checkbox is unchecked, the reader can only view the flows and cannot run them.
When the Allow non-admin users to modify (or create new) Powershell scripts in the schedules checkbox is unchecked, non-admin users cannot modify or create Powershell scripts in schedules. However, non-admin users can execute existing schedules with Powershell scripts set by Admin users.
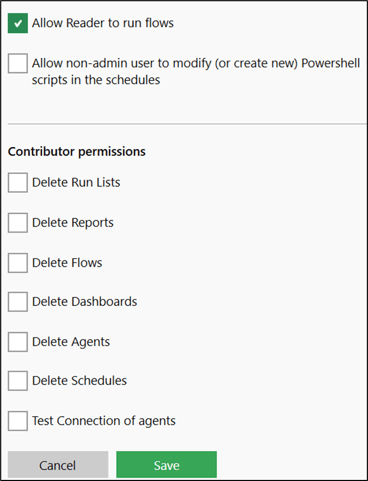
Contributor permissions: Here, you can provide the contributor multiple permissions by checking the checkboxes such as:
-
Delete Run Lists
-
Delete Reports
-
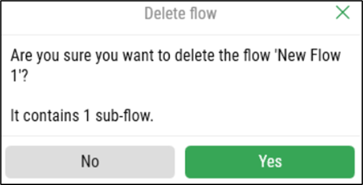
Delete Flows
-
Delete Dashboards
-
Delete Agents
-
Delete Schedules
-
Test connection of agents.
By default, all the above options are disabled for contributors, meaning all checkboxes are unchecked.
When you select any contributor permissions and click save button, the chosen options should enable all contributor permissions.
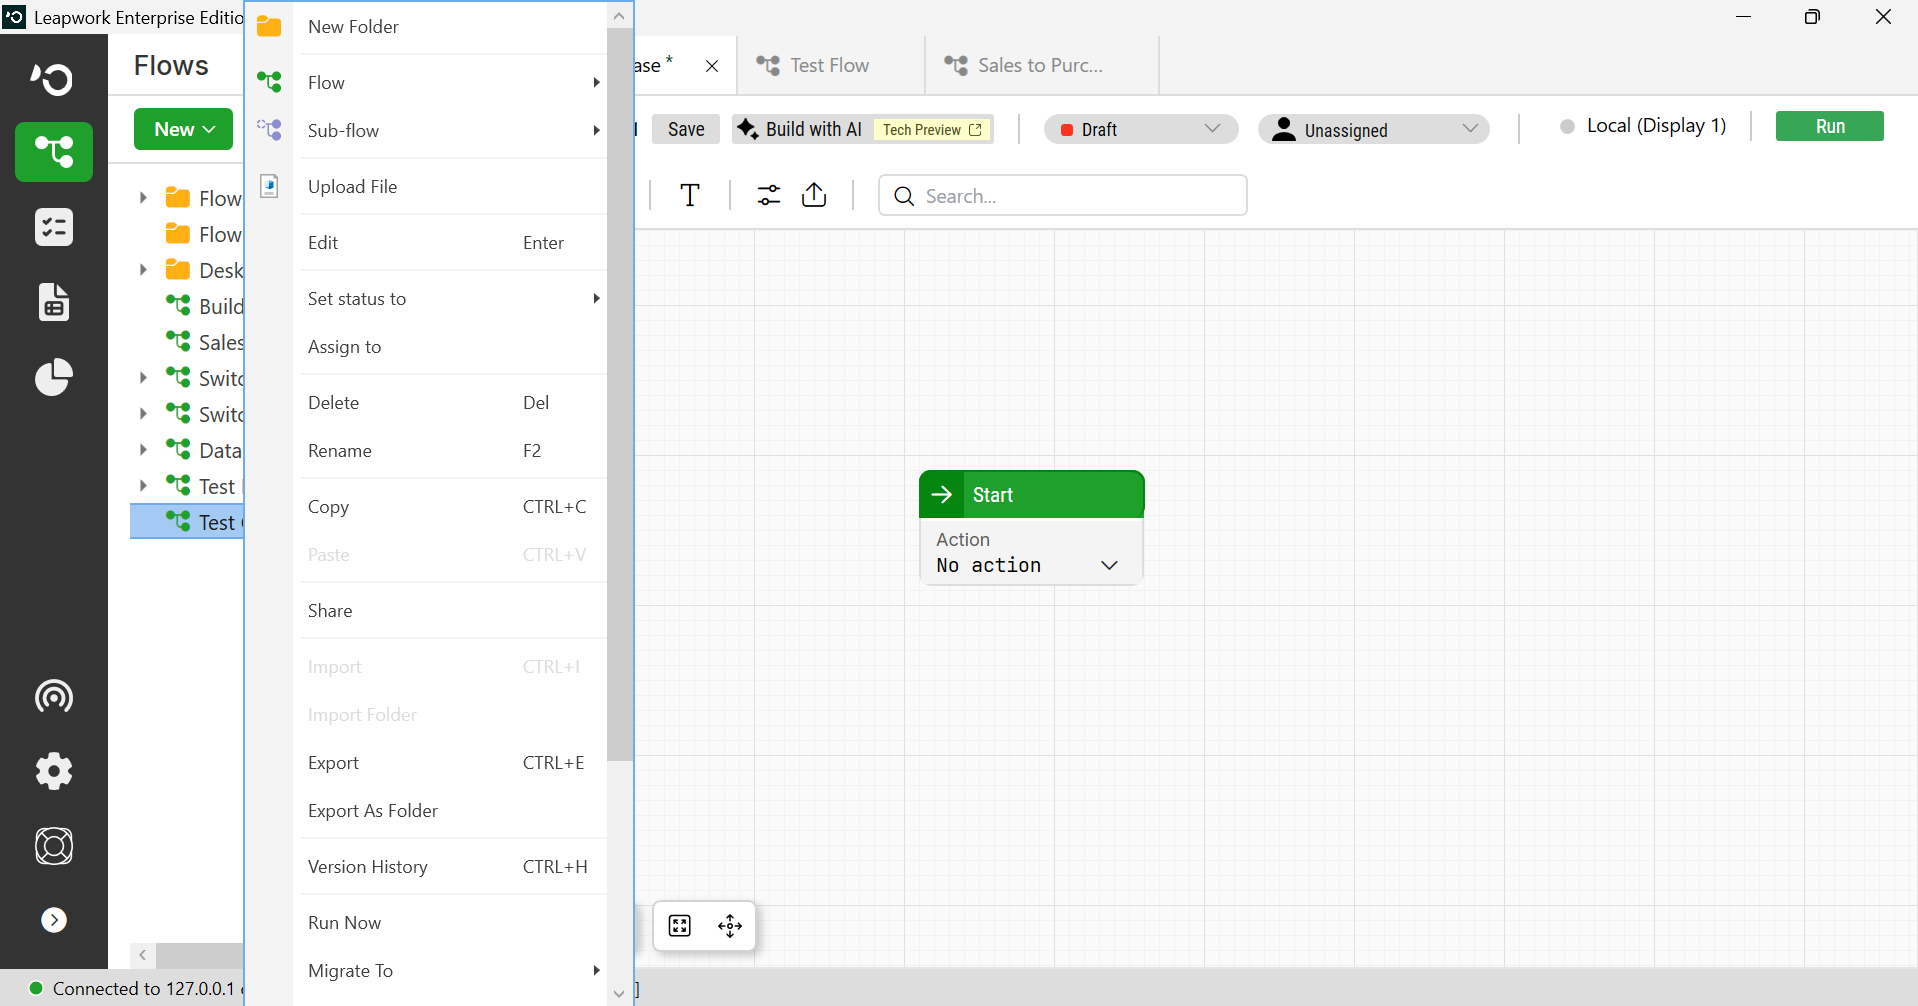
For example, if the Delete Flows option is unchecked, the Delete option in the context menu should be disabled when a contributor selects any flow and right-clicks it.
Note: The screenshot on this page uses the Elegance Design, introduced in 2025.3. If you are using an earlier version, your layout may look different.
By default, if a contributor presses the Delete key after selecting a Run list, Report, Flow, Dashboard, or agent, the delete pop-up should not appear.
For example, if the Test connections of Agents option is checked, the Test Connection button disables when the contributor adds the agent.
Create an Agent
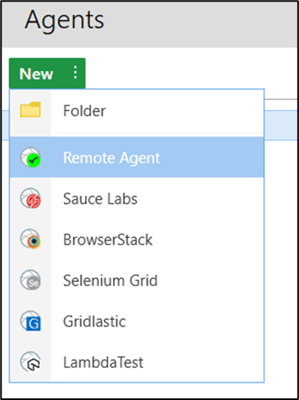
To add the new agent, refer to this article.